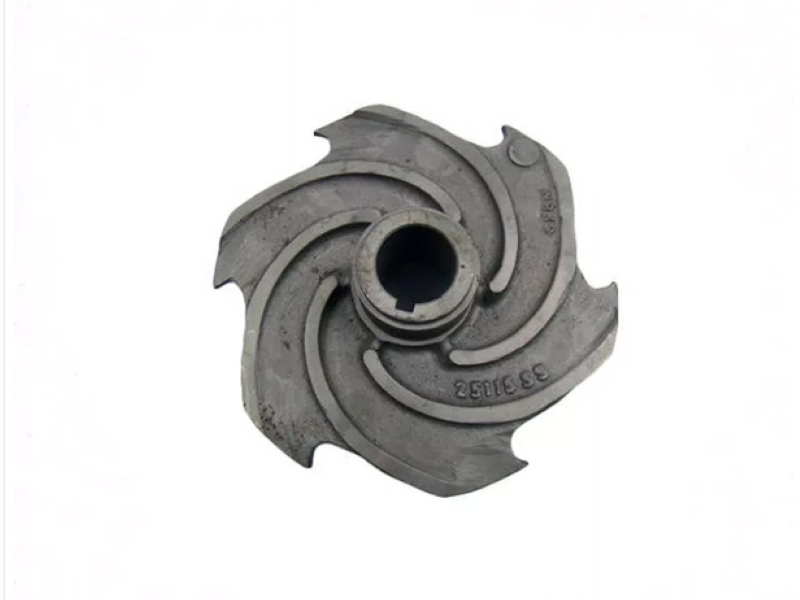
By properly disassembling the centrifugal cast iron pump impeller, you can not only extend the service life of the centrifugal pump, but also avoid damage to the equipment. This article will introduce you to the correct method of disassembling the centrifugal cast iron pump impeller in detail, and remind you of some details that need special attention during the disassembly process, so that your operation can be carried out smoothly and safely.
1. Disassemble the impeller locking nut:
Before disassembling the centrifugal cast iron pump impeller, you first need to close all valves, disconnect the inlet and outlet pipes, and put the equipment in a pressure-free state.
Operation steps:
Place the centrifugal pump on a stable horizontal surface and close the inlet and outlet valves.
Remove the suction pipe and the discharge pipe.
Use two wrenches to disassemble the locking nut and the reverse stop nut of the centrifugal cast iron pump impeller respectively. If the nut is tightened tightly, you can use the iron pipe extension wrench as a lever to increase the disassembly force.
Tips: Be careful when disassembling, and do not use excessive force to avoid damaging the nut or other accessories.

2. Separate the impeller from the shaft:
Once the locking nut is removed, the next step is to separate the centrifugal pump impeller from the pump shaft.
Steps:
Use a wooden stick to gently push the impeller back to separate it from the pump shaft.
Remove the centrifugal cast iron pump impeller and remove the dowel pin at the end of the shaft.
Check whether the o-rings on the impeller seat and water seal are worn or aged. If any problems are found, they should be replaced immediately.
Tip: Aging and wear of the o-rings can cause pump leakage and affect the normal operation of the equipment. Regular inspection is very important.
3. Clean the impeller:
After removing and inspecting the impeller, the next step is to clean it thoroughly.
Steps:
Put the centrifugal cast iron pump impeller in a cleaning tank, add an appropriate amount of cleaning solution, and soak for 30-60 minutes.
Rinse the impeller with water and clean the inner wall and suction hole of the impeller with a soft brush.
Wipe the inner and outer surfaces of the impeller with cleaning gauze, and clean the pump shaft and impeller locking nut.
Tips: Choosing the right cleaning fluid can effectively remove dirt and oil stains and extend the service life of the impeller.
4. Install the impeller:
After cleaning, you can reinstall the impeller.
Operation steps:
Install the cleaned impeller on the centrifugal pump shaft and apply grease to the impeller seat and water seal.
After installation, re-fix the locking nut and reverse stop nut of the impeller.
Check whether the impeller rotates flexibly and confirm whether the impeller and the shaft fit tightly.
Tip: Make sure that the nut is tightened properly during installation. Too tight or too loose will affect the operation of the impeller.
Although disassembling the centrifugal pump impeller seems simple, every step requires careful operation. With the steps provided in this article, you can effectively disassemble and maintain the centrifugal pump impeller. At the same time, regular inspection and cleaning can not only improve the performance of the equipment, but also reduce the probability of failure.
If you encounter any problems during operation or need further technical support, please feel free to contact us and we will be happy to help you.

